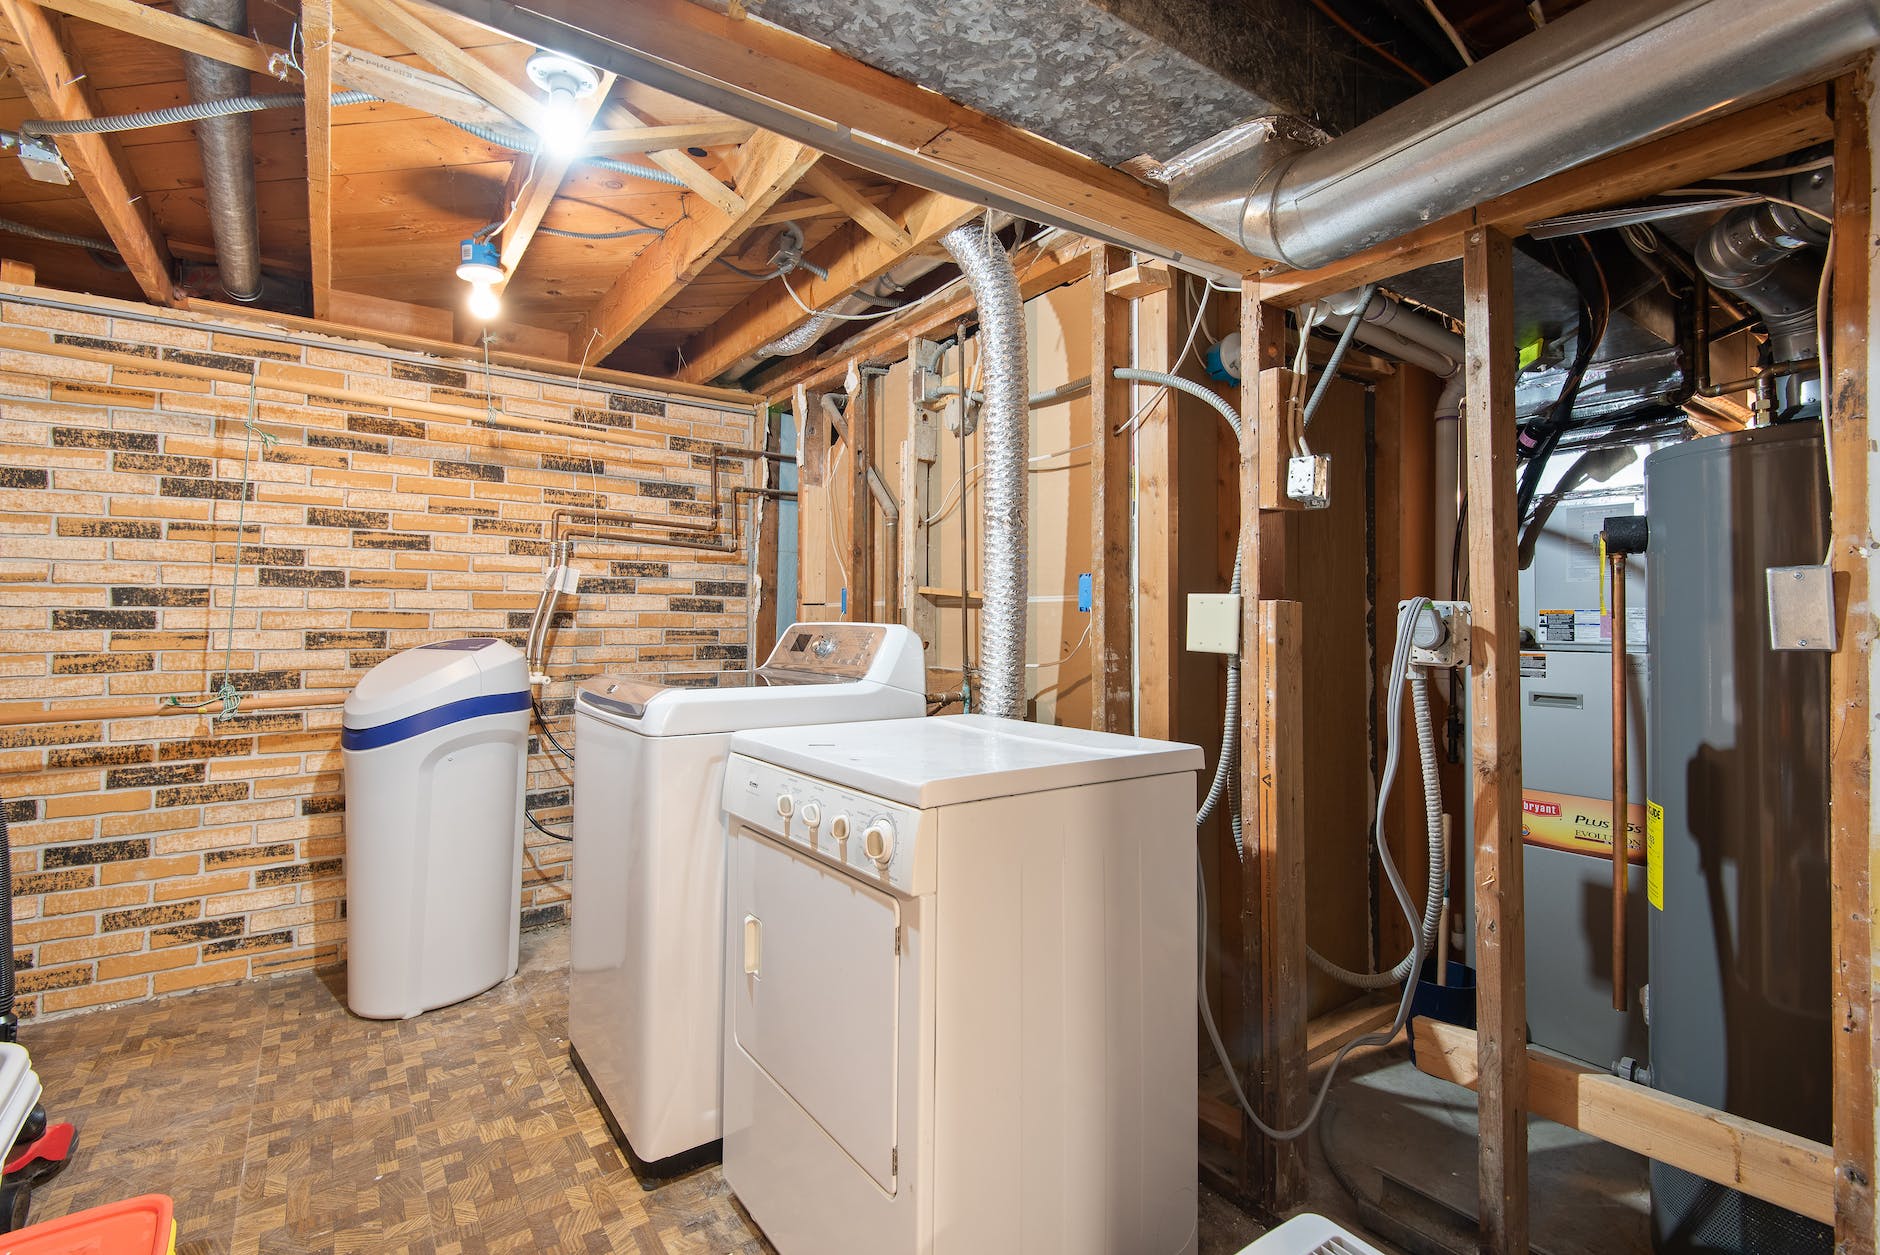
Americans do a lot of laundry. In fact, according to the US Department of Energy, the average American family does more than 300 loads of laundry per year. Most of you probably know how to operate your washer and dryer, although with every passing year, their increased functionality can make them unnecessarily complex. You likely know how to clean your lint filter, but there’s a good chance the maintenance of your dryer stops there. In this article, we will discuss the basic components of a dryer, how lint buildup can impact efficiency, and the steps required to clean your dryer vent.
How Laundry Dryers Work
The concept is relatively simple. There are two main types of dryers: gas and electric. The general mechanisms are the same, the only difference is the source of heat (gas vs. electric). Wet clothes / linens are placed in the drum. A motor and a belt rotate the drum while air is blown through the heating element and into the drum. The water evaporates and is vented out of the dryer through a lint trap and expelled from the home.
The performance of the dryer relies on unrestricted ventilation. When lint builds up in the lint trap or vent, it decreases the efficiency of the dryer. Even more concerning, it can pose a fire hazard to your home. With restricted airflow, the vent can get very hot and ignite the lint buildup. To reduce the risk, you can perform the simple home maintenance task of cleaning your dryer vent.
How to Clean a Dryer Vent
The process of cleaning a dryer vent is very simple with the help of a few tools:
- A good vacuum cleaner is important for this project. This process is fairly messy.
- A dryer vent cleaning kit will make this process a breeze. There are many options out there. I have used this kit, found on Amazon, and was pleased with the product. Whichever kit you purchase, just ensure it is long enough to travel through the entire vent.
- An electric drill is used with the cleaning kit. A corded or cordless drill will work.
Once you have procured the necessary tools follow these steps.
- Disconnect the plug and dryer vent duct from the dryer.
- Remove the cover from the vent on the outside of the house.
- Insert the brush and slowly feed it through the vent, adding extensions as needed until you’ve reached the end.
- Continue the process in reverse until you have removed the brush.
- Vacuum up all of the lent you removed from the vent, as well as from accessible areas of the dryer.
- Reconnect the dryer vent, replace the vent cover, and inspect all connections for tight seals.
Conclusion
A clean dryer vent is critical to the well-being of your home. Often overlooked, the results of neglecting this simple task can be catastrophic. If you can’t complete this task on your own, a competent handyman should be able to assist you. This is just one of the many home maintenance items required to keep your home in good condition. Holston Home Inspections can help you identify neglected maintenance items and guide your maintenance list. Schedule your home maintenance inspection today!


