Introduction
As we enter the crisp and colorful season of fall in Northeast Tennessee, temperatures are allowing you to turn off your AC and crack the widows. This is the perfect time to prepare our homes for colder weather conditions. One crucial aspect of this preparation is weather stripping. This often-overlooked maintenance / repair item can significantly impact your home’s energy efficiency, comfort, and overall well-being. In this guide, we’ll explore the numerous benefits of weather stripping. We’ll also provide detailed instructions on how to inspect and replace weather stripping, and offer additional tips for maximizing your energy savings and comfort throughout the year.
The Benefits of Weather Stripping
Before we dive into the practicalities of weather stripping, let’s understand why it’s so essential for homeowners in towns like Kingsport, Johnson City, and Bristol , especially as we transition into fall.

Energy Efficiency
Fall in this region can bring fluctuating temperatures, from chilly evenings to unexpectedly warm afternoons that make you wonder if summer has made a return. Properly installed weather stripping creates a barrier that prevents drafts and air leaks, making it easier to maintain a consistent indoor temperature. This reduces the workload on your heating and cooling systems, which will lower your energy consumption and utility bills.
Improved Comfort
We all know how uncomfortable it can be to experience drafts during cold nights or deal with hot, stuffy rooms during sunny afternoons. Weather stripping helps ensure that your home remains a comfortable space, regardless of the weather outside.
Enhanced Indoor Air Quality
Beyond temperature control, weather stripping also contributes to better indoor air quality. By sealing gaps and cracks around doors and windows, it helps keep out dust, allergens, and pollutants, making your home a healthier place to live. Additionally, weather stripping can help prevent leaking windows or doors in a heavy storm.
How to Check Your Weather Stripping
Now that we understand why weather stripping is crucial, let’s discuss some practical steps to check your existing weather stripping. With winter approaching, this is the perfect time to assess your home’s condition. It’s also a great time to schedule your annual maintenance inspection – we can help you identify any other maintenance items in need of attention.
Visual Evaluation
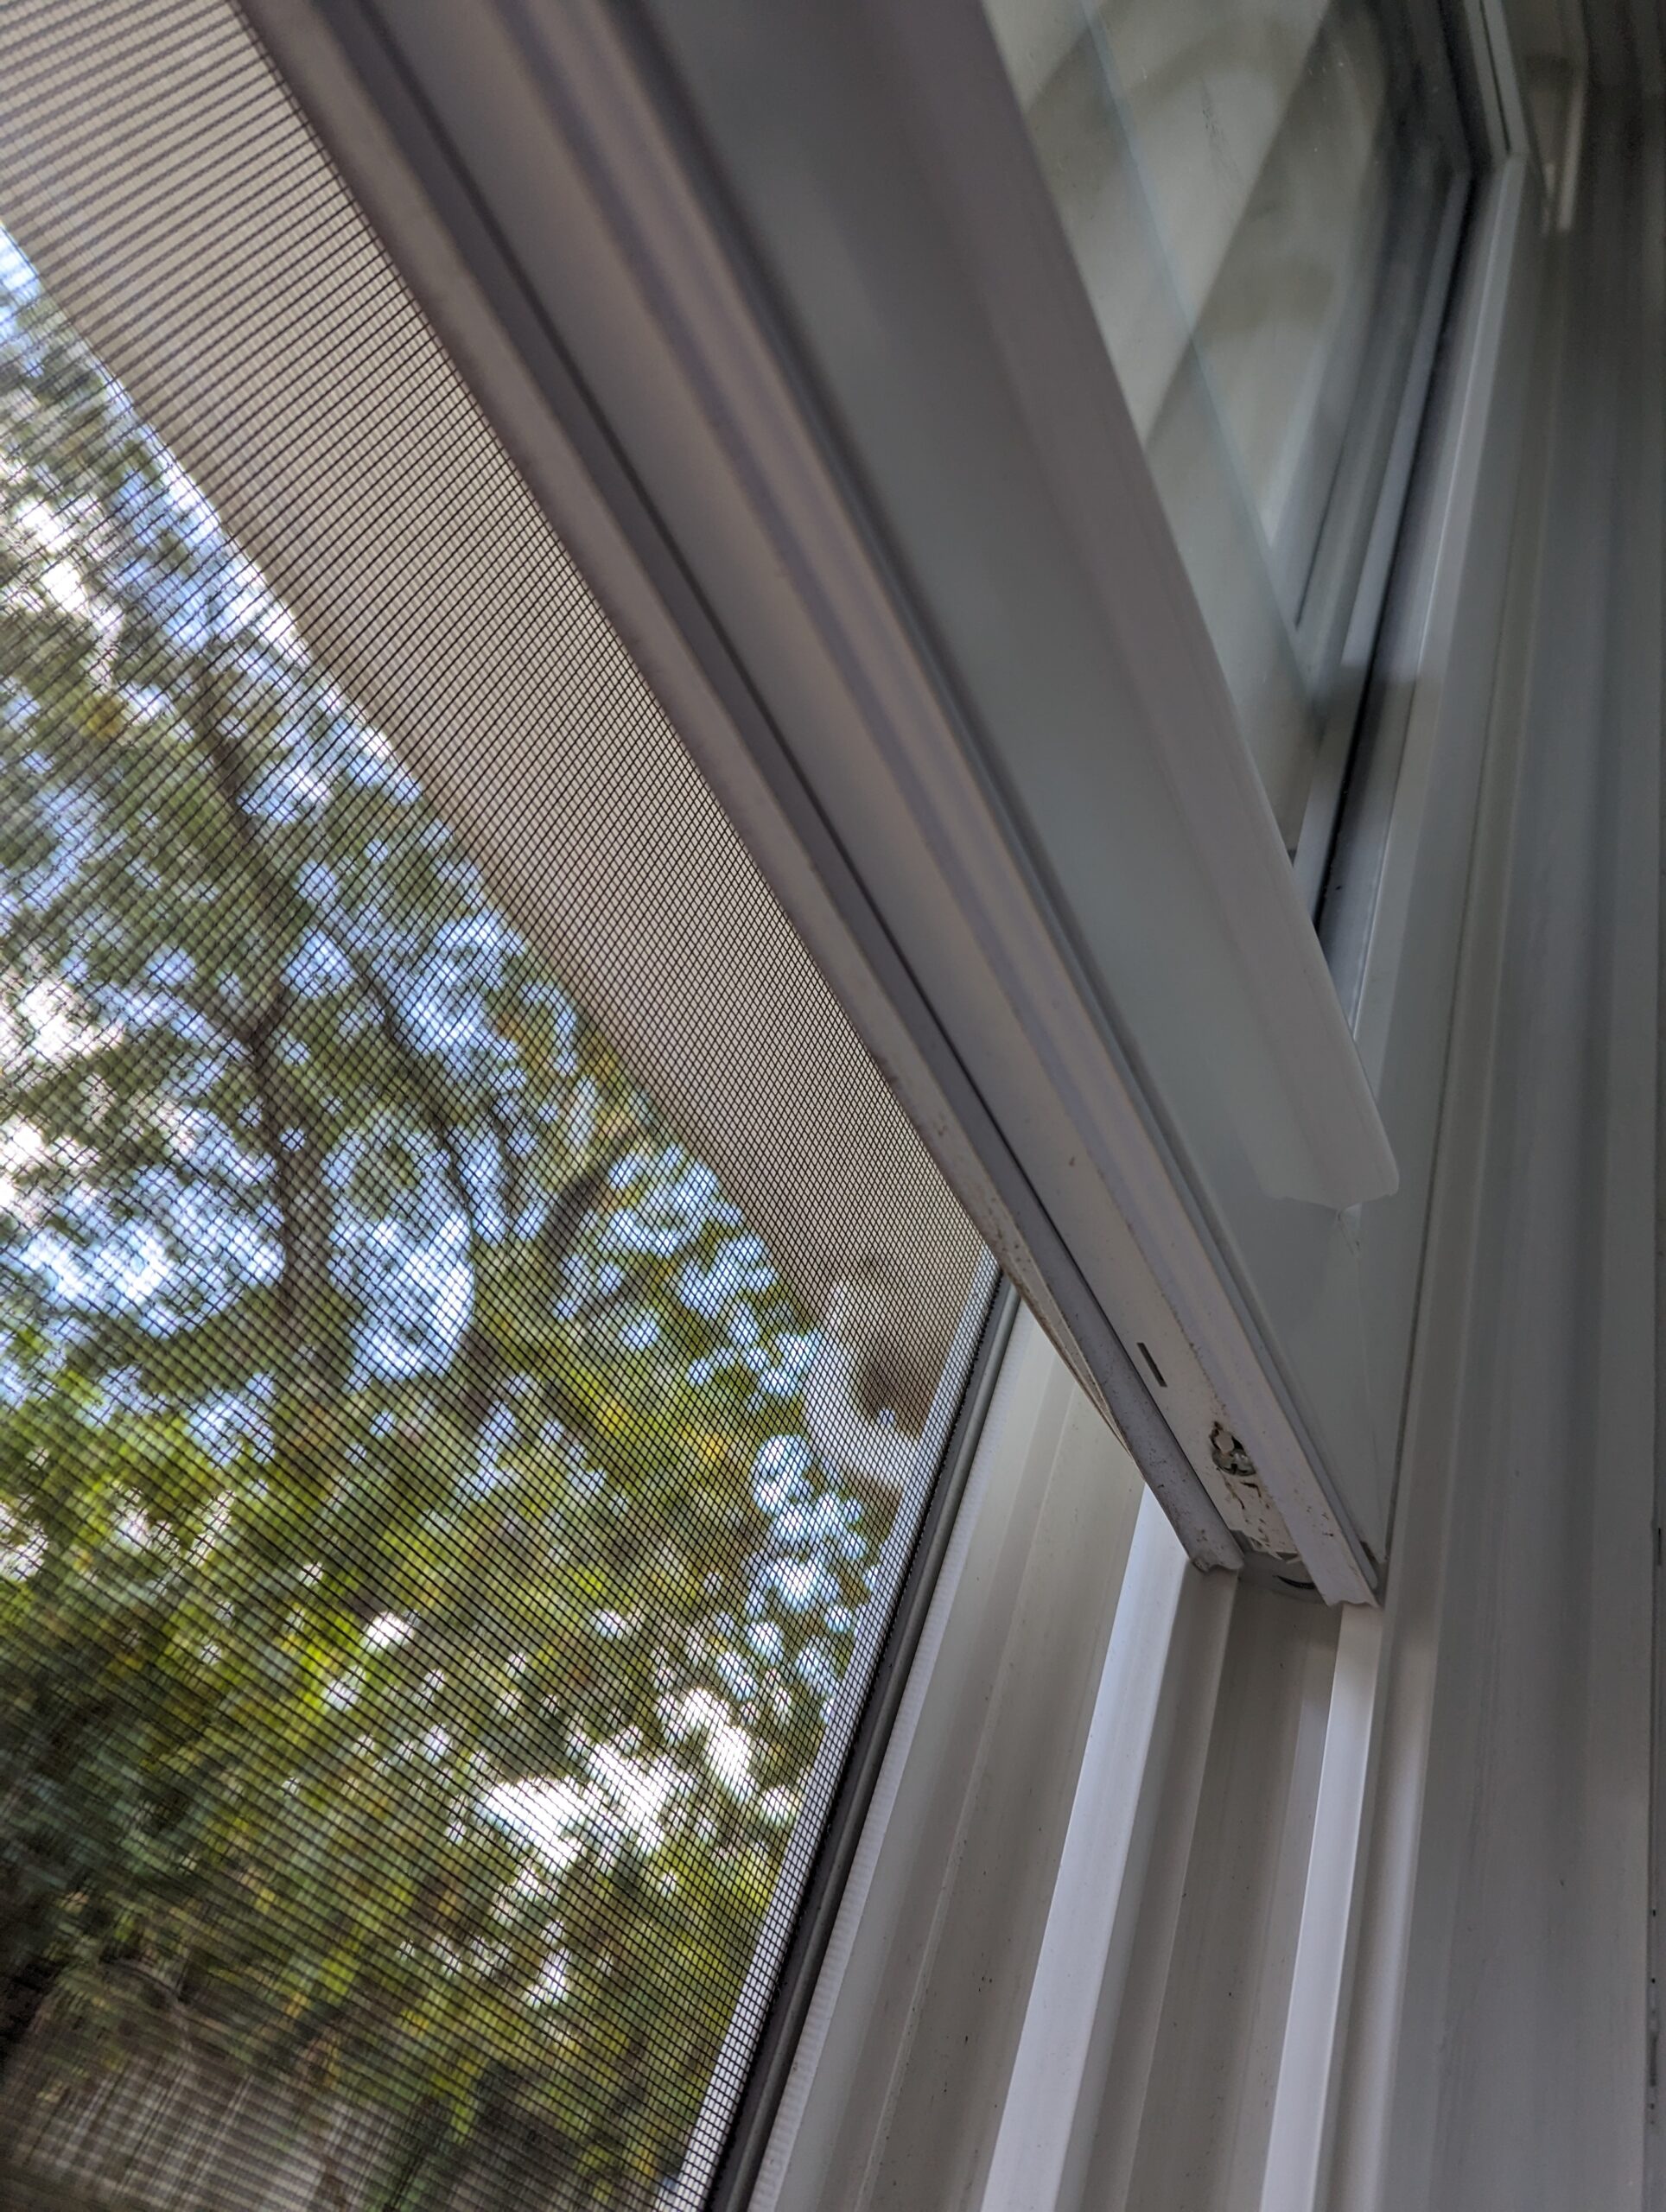
Begin by visually evaluating the edges of your doors and windows. Look for any visible gaps, cracks, or signs of wear and tear in the weather stripping material. Over time, UV light can degrade weather stripping, rendering it ineffective. Pay special attention to areas where the material may have pulled away or become damaged.
Draft Testing
On a breezy day in early fall, take advantage of the natural airflow. Light a candle and hold it near the edges of your doors and windows. If you notice the flame flickering or you feel a draft, it’s a clear indication that your weather stripping may need attention. NOTE: Be careful not to burn yourself or start a fire.

How to Replace Weather Stripping
If you’ve identified issues with your weather stripping during your inspection, don’t worry – replacing it is a manageable DIY project most of the time. Here’s a step-by-step guide for a thorough replacement:
Materials You’ll Need:
- Weather stripping material (select the appropriate type: adhesive-backed foam, V-strip, or door sweeps)
- Measuring tape
- Utility knife or scissors
- Screwdriver or nails (for securing the weather stripping)
Steps:
- Remove Old Weather Stripping: Use a utility knife or screwdriver to carefully remove the old weather stripping. Be meticulous in removing any residue or adhesive left behind in order to create a good seal for the new weather stripping material.
- Measure and Cut: Precisely measure the dimensions of the door or window frame where you’ll be installing the new weather stripping. Cut the weather stripping material to the required length, ensuring a snug fit.
- Apply Weather Stripping: Peel off the backing from the adhesive side of the weather stripping and press it firmly into place along the frame. For doors, install door sweeps at the bottom to seal gaps effectively.
- Test for Drafts: After installation, retest for drafts using the candle method to ensure a tight seal. You should notice a significant reduction in drafts and air leaks.
Summary
As we embrace the beauty of fall in Northeast Tennessee, let’s not forget to prepare our homes for the changing seasons. Weather stripping is a cost-effective and efficient way to improve your home’s energy efficiency, comfort, and overall well-being. By following the steps outlined in this guide and considering additional energy-saving measures, you’ll be well on your way to enjoying a cozier and more cost-effective fall and winter season. So, take advantage of this perfect season and ensure your home remains a comfortable haven year-round.


